24
Jun
Posted By Avonlea Kitchen + Bathroom Concepts
Using Pegboards in the Kitchen

Pegboards are often seen in workshops, older basements, and garages because they’re useful, flexible, and inexpensive. Considering how many different shapes of tools that are used in these settings, pegboards have been found to be an elegant solution to keeping it all organized. The pegboard has actually been adapted for kitchens many years ago, and to this day there are few options that are quite as versatile, unique, and visually appealing.
How are pegboards different from hooks?
Many of our favourite cooking shows hang their pots from a suspended bar, usually around the kitchen island. While this arrangement occupies otherwise unused space, leaving more room in the cabinets for dry goods, dishes, cutlery, and kitchen gadgets, it has shortcomings, too. The hooks are usually S-shaped to prevent them from coming loose too easily for times when you accidentally run into them. This does make hanging them and removing them more of a hassle, which is made worse for the shorter members of your family.
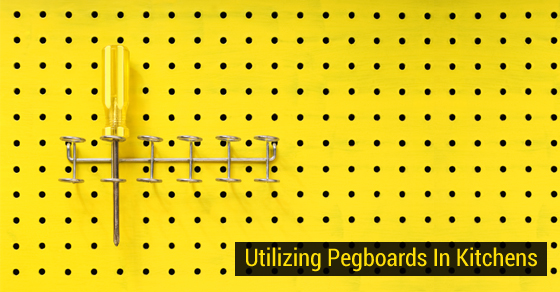
The pegs of a pegboard are round and knobby to prevent things from slipping off and onto the countertop or ground, keeping it simple for family members of all heights to access your kitchen utilities when needed.
Can I use it as a shelf?
Low-cost furnishings have introduced the idea of a floating shelf, which is great for placing small and often used items, like the salt or pepper shakers. Some pegboards offer short shelves that fit into the board’s holes, and those that don’t can simply put a plank of reclaimed wood on a line of consecutive pegs.
Being able to store things on the wall will create more space for cooking, cutting, and preparing multiple dishes at the same time. If you ever change your mind about where you want the shelves, you’re not stuck with drilled holes in the wall — just remove and replace whenever you wish!
Can I make my own?
When you start shopping for a pegboard, you’ll see that many designs have taken off from its simple, bare basic concept. Many of them come in an assortment of sizes, shapes, material, and colours, but if you’re handy you can always do it yourself. All you need is a board, a drill, and wooden pegs. Before you start, make sure you have suitable material for the board’s backing along with a drill that will be sufficient for the project.
The placement of the holes is up to you, although there is a limit to how densely you can drill them. Of course, more holes gives you more flexibility. Once you’ve finished with the board, you’ll need to find a way to hang it on the wall.
To take the guess work out of it and to ensure yourself an expert installation, call our team at Avonlea today!
Leave a Comment
The comments are closed.
